



























Appliance – Dryer in Houston
DRYER SUPPORT FOR HOUSTON Dryer Repair & Maintenance in Houston Expert dryer maintenance and repair services in Houston, Texas. Unmatched Dryer Repair Services for Houston, Texas Schedule Your Dryer Repair in Houston Don't let laundry day become a laundry nightmare. Uptown Appliance Repair offers wi
DRYER SUPPORT FOR HOUSTON
Dryer Repair &
Maintenance in Houston
Expert dryer maintenance and repair services in Houston, Texas.
Unmatched Dryer Repair Services for Houston, Texas
Schedule Your Dryer Repair in Houston
Don’t let laundry day become a laundry nightmare.
Uptown Appliance Repair offers will diagnose the problem quickly and have your dryer running efficiently in no time.
About Uptown's
Dryer Repair
Services in Houston
As Houston’s leading dryer repair experts, our certified technicians have extensive experience with all major brands and dryer types, including gas and electric models.
We’re committed to providing unmatched service and exceeding customer expectations, ensuring your laundry is always dry and ready to wear.

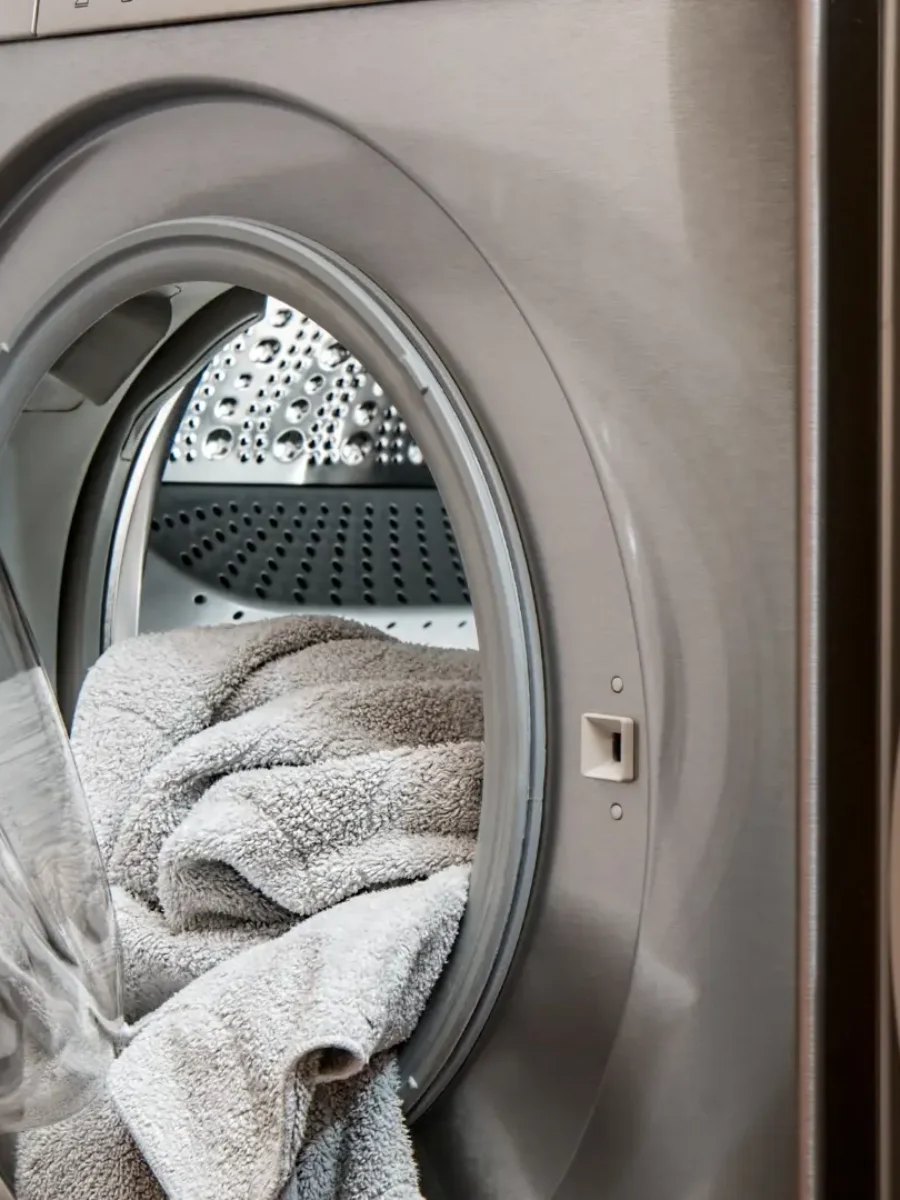
Dryer on the Blink? Houston Homeowners, We'll Get It Working Again!
A malfunctioning dryer can be a major inconvenience. Whether your dryer isn’t heating, tumbling, or making strange noises, Uptown Appliance Repair has the expertise to solve the problem.
We offer fast and reliable dryer repair services in Houston, minimizing disruption to your laundry routine.
Common Dryer Problems
We Repair in Houston
Our Houston dryer repair experts handle a wide range of common dryer problems, including:

Houston Dryer Repair FAQs
Have questions about dryer repair in Houston?
We’ve compiled answers to some Frequently Asked Questions.
How to Fix a Dryer?
Power and Basic Checks:
- Ensure the dryer is plugged in and the circuit breaker hasn’t tripped.
- Clean the lint trap regularly to prevent airflow issues.
Common Issues and Fixes:
- Won’t Start:
- Check if the door switch is engaging correctly or if it’s faulty. Test with a multimeter for continuity. If the thermal fuse is blown, replace it, but first, address underlying causes like clogged vents or malfunctioning thermostats.
- Making Noise:
- Worn drum support rollers often cause thumping. Replace all rollers simultaneously due to their wear rate.
- Not Heating:
- Verify the vent isn’t clogged, which can cause overheating or lack of heat. If clear, check the heating element or for gas dryers, the radiant sensor, igniter, or gas valve coils for continuity.
- Doesn’t Rotate:
- A broken belt might be the issue. Disassemble, check for belt wear, and replace with a new one, making sure to clean out lint and inspect the tensioner roller.
- Door Won’t Stay Shut:
- Examine the latch and strike. Replace if bent or worn.
Safety and Professional Help:
- Always unplug your dryer before repairs to prevent electrical hazards.
- If you encounter complex issues or aren’t comfortable with DIY repairs, contact us at Uptown Appliance Repair for professional service. Remember, some parts like the drum or heating element might require professional installation due to safety or complexity.
How Much Does It Cost to Repair a Dryer?
- Average Costs: Dryer repairs generally range from $100 to $300, with an average around $180.
- Part-Specific Costs:
- Heating Element: $150 to $350, with the part costing $15 to $200.
- Belt: Replacement is $100 to $250, with parts at $10 to $70.
- Thermal Fuse: $75 to $150, parts $5 to $60.
- Motor: $150 to $400, part costs $60 to $200.
- Rollers: $100 to $300, with parts from $10 to $40.
- Drum: Replacement is $200 to $500, with the drum itself at $130 to $400.
- Felt Seal: $150 to $350 for installation.
- Thermostat: $100 to $300.
- Control Board: $250 to $500.
- Pulley: $200 to $350.
- Timer: $120 to $300, with parts $50 to $150.
- Bearings: $100 to $300.
- Labor: Technicians charge $50 to $125 per hour, with minimum service fees of $70 to $130.
- Additional Considerations:
- Type of Dryer: Gas dryers might incur higher repair costs than electric ones.
- Brand/Model: Higher-end or less common brands can increase part costs.
- Geographic Area: Repair costs can differ based on local rates.
How Long Do Dryers Last?
Longevity Factors:
- Usage: More frequent use can shorten a dryer’s life.
- Maintenance: Regular cleaning of the lint trap, ensuring clear vents, and avoiding overloading can extend life. For instance, not cleaning the lint filter after every use contributes to the 2,900 annual dryer-related fires reported in the U.S.
Maintenance Tips for Prolonged Life:
- Lint Filter: Clean after every load to prevent fire hazards and maintain efficiency.
- Load Size: Adhere to the manufacturer’s recommended load size to avoid strain.
- Vent Cap: Ensure it’s free of debris and the flap operates freely.
- Drum: Occasionally clean with rubbing alcohol to prevent residue buildup.
- Deep Cleaning: Every few months, wash the lint screen with detergent or in the dishwasher.
- Hoses and Vents: Clean every two years and use rigid metal vents for safety.
Signs for Replacement:
- Damp Clothes: Persistent moisture suggests vent issues or inefficiency.
- Excessive Noise: Indicates possible wear like a faulty blower wheel or bearings.
- Age: After 10-13 years, expect efficiency drops which might increase energy costs.
- Electrical Problems: Smoky odors or exposed wiring are serious safety concerns.
How to Replace a Dryer Belt?
- 1) Preparation:
- Safety First: Unplug the dryer and for gas models, close the gas valve.
- Accessibility: Slide the dryer away from the wall for space to work.
- 2) Disassembly:
- Remove Lint Filter: Unscrew any screws inside the filter slot.
- Open the Dryer: Use a putty knife to unlock the top panel by pressing clips at the front seam.
- Disconnect Wiring: Carefully unhook any electrical harnesses.
- Remove Front Panel: Unscrew fasteners and gently lift off the front panel, supporting the drum.
- 3) Belt Replacement:
- Purchase New Belt: Identify the belt’s model number from the old belt or user manual.
- Install New Belt: Place the belt around the drum in the groove where the old one sat.
- Attach it to the motor pulley first, then to the idler pulley, ensuring it’s correctly tensioned.
- 4) Reassembly:
- Reattach Panels: Start with the front panel, ensuring the drum slots in correctly. Secure with screws and reconnect wiring.
- Close Up: Lower the top panel and secure it.
- 5) Testing:
- Reconnect: Reattach the dryer to the duct, gas line (if applicable), and plug it back in.
- Run a Test Cycle: Confirm the drum spins without noise, indicating a successful belt replacement.
What is better: a Gas or Electric Dryer?
A) Gas dryers
B) Electric dryers