


























Appliance – Stove in Dallas
STOVE SUPPORT FOR DALLAS Stove Maintenance & Repair in Dallas Expert ice maker maintenance and repair services in Dallas, Texas. Unmatched Stove Repair Services for Dallas, Texas Schedule Your Stove Repair in Dallas Is your stove not heating up properly or are your burners refusing to light?Uptown A
STOVE SUPPORT FOR DALLAS
Stove Maintenance
& Repair in Dallas
Expert ice maker maintenance and repair services in Dallas, Texas.
Unmatched Stove Repair Services for Dallas, Texas
Schedule Your Stove Repair in Dallas
Is your stove not heating up properly or are your burners refusing to light?
Uptown Appliance Repair offers prompt and reliable stove repair services in Dallas.
About Uptown's
Stove Repair
Services in Dallas
At Uptown Appliance Repair, we know a reliable stove is the heart of every Dallas kitchen.
We’re committed to providing unmatched service and exceeding customer expectations, keeping your kitchen cooking.

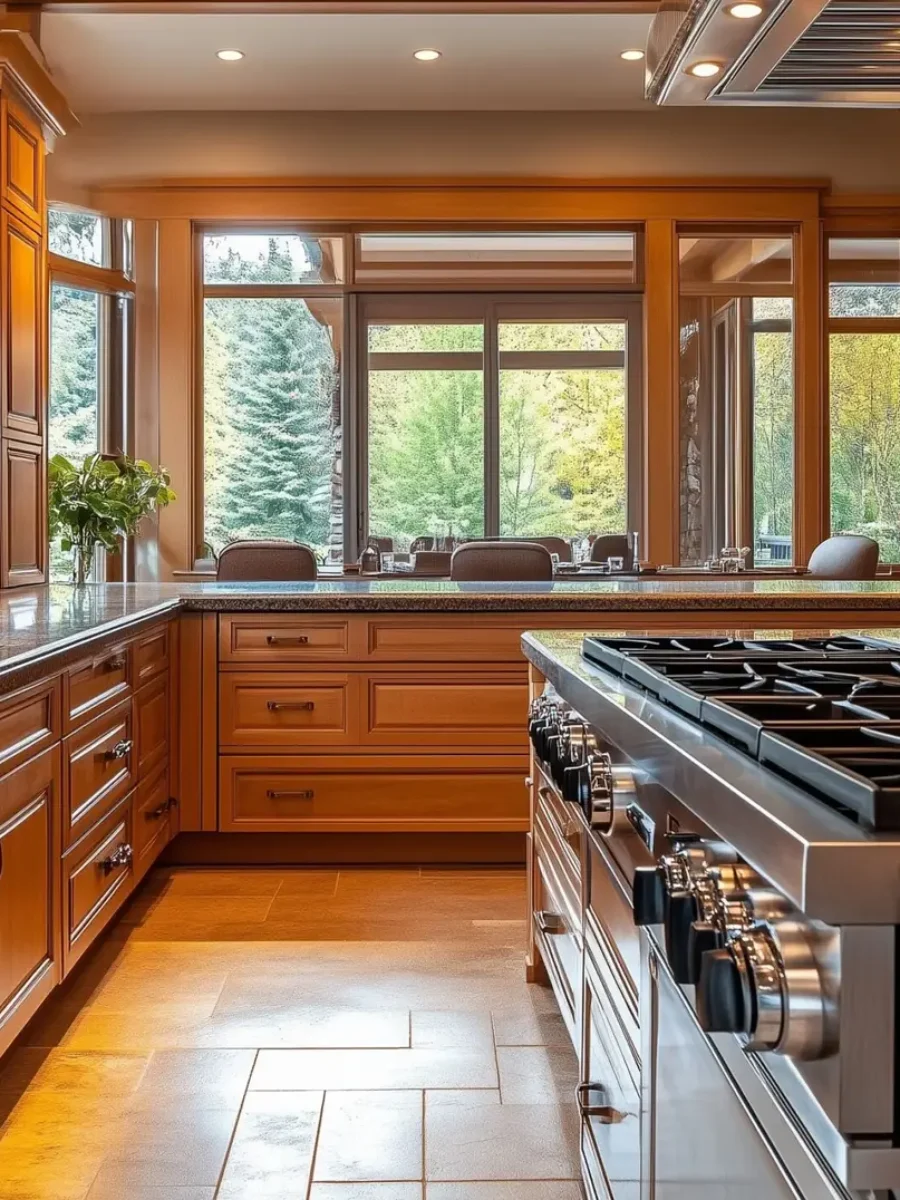
Stove Giving You Trouble?
Dallas Residents, We Can Help!
Whether your stovetop burners aren’t igniting, your oven isn’t heating evenly, or you’re experiencing any other stove-related issue, Uptown Appliance Repair has the solution.
We offer fast and reliable stove repair services in Dallas, minimizing disruption to your cooking routine.
Common Stove Problems
We Repair in Dallas
Our Dallas stove repair experts handle a wide range of common stove problems, including:
Dallas Stove Repair FAQs
Have questions about stove repair in Dallas?
We’ve compiled answers to some Frequently Asked Questions.
How to install a stove?
A) Gas Stove Installation:
- Preparation: Begin by obtaining a new gas connector, ensuring it matches your stove’s requirements. Turn off the gas valve, typically by turning it 90 degrees.
- Installation: Use yellow Teflon tape on the gas valve threads for a secure seal. Attach the gas connector to the gas line, carefully avoiding kinks. Connect a street elbow to the stove’s gas port, and then to the connector. Tighten all connections, and check for leaks with a gas leak detector; bubbles indicate a leak, which needs immediate professional attention.
- Final Steps: Once leak-free, slide the stove into position, ensure it’s level, and secure any anti-tip brackets.
B) Electric Stove Installation:
- Electrical Check: Confirm your home has a 250-volt circuit with at least 40-50 amps. Hire a professional if it needs upgrading.
- Wiring: Match the stove’s wiring configuration with either a 3-wire (older models) or 4-wire (newer models) power cord. Connect these to the stove’s back, ensuring color coordination.
- Connection: After wiring, plug into the appropriate outlet. Ensure the outlet is dedicated to the stove.
- Placement: With help, slide the stove into place, level it, and secure if an anti-tip bracket is provided.
How to fix a gas stove igniter?
- Gas Flow Issues:
- Debris Blockage: Check for food particles or grease clogging the gas orifice. Use a straightened paperclip to clear the hole by rotating it several times, then reinstall and test.
- Gas Supply: Ensure the gas valve behind the stove is fully open.
- Spark Problems:
- No Spark: Confirm your stove has power. If it does and there’s no spark, cleaning might resolve this:
- Clean the igniter with an alcohol-soaked cotton swab to remove any residue.
- If there’s still no spark, clean the burner head thoroughly. Look for small holes to clear with a paperclip, and brush away any debris.
- Faulty Igniter:
- If cleaning doesn’t work, inspect the igniter. In a dark room, if the spark is not a vibrant blue but yellow or orange, it likely needs replacement.
- Turn off the gas and power, remove the burner cap and base, disconnect the igniter wires, and replace the igniter. Ensure you get the correct model for your stove.
How to replace a glass stove top?
How to convert a gas stove to propane?
Efficiency and Cost:
Conversion Process:
- Orifice Size: Propane requires smaller orifices due to its higher pressure and energy content. For newer stoves, conversion kits often come with the stove or can be sourced from the manufacturer.
- Pressure Regulator: The existing regulator must be adjusted or replaced to manage propane’s higher pressure safely.
- Burner Adjustment: After orifice replacement, adjust the air shutter to ensure a proper fuel-air mixture for efficient burning with a blue flame tip.
Professional vs. DIY:
- Newer Stoves: If equipped with a conversion kit, the process might be manageable for DIY enthusiasts, involving simple part replacements and adjustments.
- Older Stoves: Vintage models might lack kits, necessitating professional conversion or specialized alterations like soldering orifice adjustments.